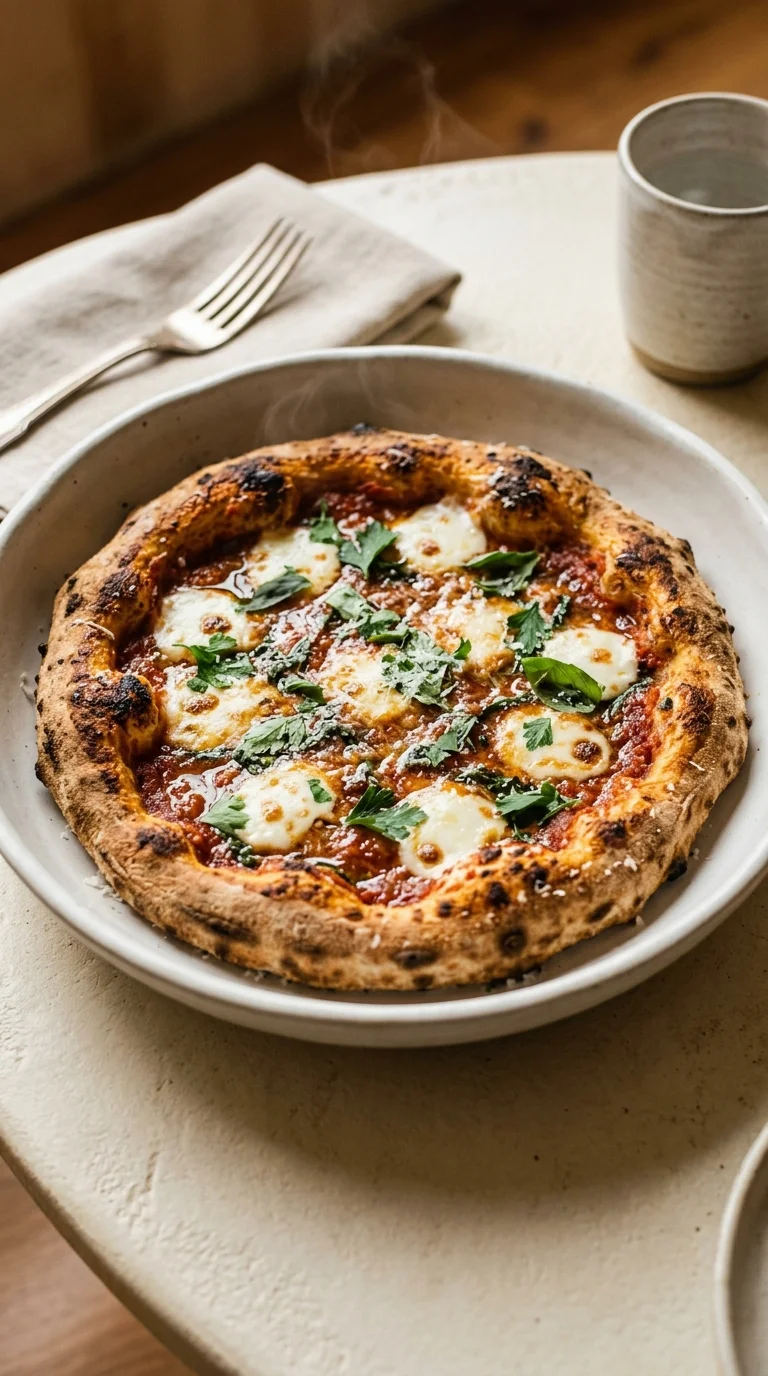
The art of the sourdough pizza dough is rooted in the ancient tradition of wild fermentation, a method that predates commercial yeast by millennia. In the heart of Naples, the evolution of pizza saw a marriage between the fast-fire techniques of the wood-oven and the slow, complex development of naturally leavened doughs. This process allows the wild yeast to break down the proteins in the flour, resulting in a crust that is not only easier to digest but possesses a sophisticated, slightly acidic profile.
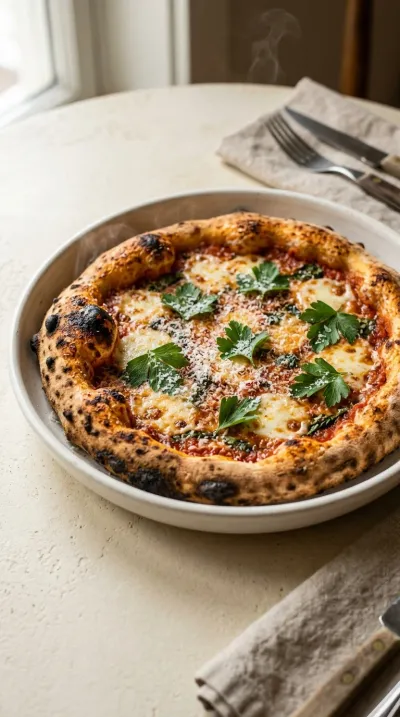
Historically, the use of a sourdough starter was a matter of necessity and community, with families passing down their cultures through generations. The gradual fermentation period creates those characteristic "leopard spots" or blisters on the crust, which are the hallmark of a well-developed dough. This synergy of heat and time transforms simple ingredients into a complex architectural marvel of gluten and air.
Modern home kitchens now embrace these slow methods, moving away from the quick-fix nature of industrial yeast. By utilizing a grams formula, bakers can recreate the consistency of a professional pizzaiolo, ensuring that the hydration remains precise. It is a tribute to the patience of the past, bringing a piece of artisanal heritage to the modern dining table.
Why You'll Love It
-
- Honestly, there is just something so grounding about the way the sourdough starter bubbles up, giving the crust that beautiful, signature tang.
-
- I mean, look at those edges—you get a wonderful crispiness on the outside but the center stays so soft and chewy, just like a real pizzeria.
-
- Well, it's a slow process, but that's the beauty of it; it fills the kitchen with such a warm, yeasty scent that reminds me of Sunday afternoons.
-
- Wow, the way it blisters in a hot oven is just magic, and knowing it's made with simple, real ingredients makes it feel so special.
"I was always intimidated by starters, but this recipe made it so simple. The crust is honestly the best I've ever had!"
Essential Ingredient Guide
- 500g bread flour: I always go for a good bread flour because that extra protein is what gives the crust its structure. It makes the dough feel strong and stretchy under your palms.
- 350g tap water (25°C): Using water that's just a bit lukewarm helps the starter wake up. You don't want it too hot, or you'll scare the wild yeast, so just a gentle warmth is perfect.
- 100g active sourdough starter (100% hydration): This is the heart of the whole thing, really. Make sure it's bubbly and active; it's what gives us that lovely rise and the flavor that lingers on your tongue.
- 10g sea salt: I like to drizzle this in after the rest. It doesn't just season the dough; it actually helps control the fermentation so the crust doesn't brown too quickly.
- extra virgin olive oil: Now, this is a little extra touch, but brushing a bit on the edges adds a gorgeous fragrance. It helps the crust get that golden-brown, professional finish.
- whole-wheat flour: If you're feeling like something a bit heartier, replacing some of the white flour with this adds a lovely, nutty depth. It makes the pizza feel a bit more rustic and homey.

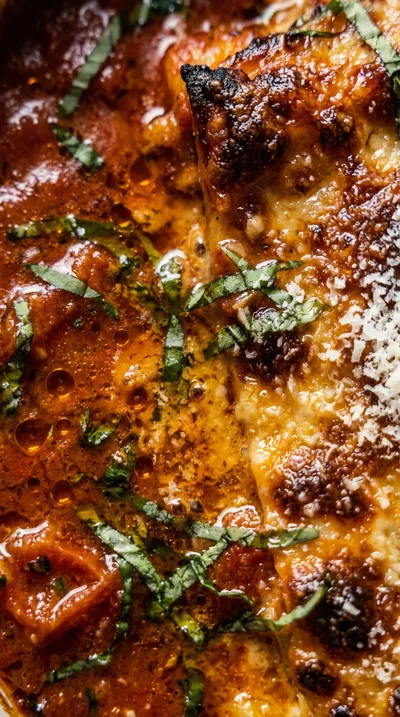
Complete Cooking Process
-
Ingredient Readiness:
Everything starts with getting your 350g tap water (25°C) and 100g active sourdough starter (100% hydration) just right. I find that when the temperature is gentle, the dough is much happier and easier to work with.
-
Flavor Development:
The real magic happens during that two-hour rise with the stretch-and-folds. This is where the sourdough flavor deepens and the dough develops those little air pockets we love.
-
Texture Control:
The autolyse—that little 20-minute rest—is a lifesaver for the texture. It lets the 500g bread flour fully hydrate, so you aren't fighting the dough when you shape those 320g balls.
-
Finishing Touches:
Before it hits the stone, a quick flip off the parchment ensures the bottom gets that perfect, blistered crunch. It's a tiny step, but it makes a world of difference.
-
Serving Timing:
I always let the pizza cool for just a minute or two on the board. It lets the cheese set slightly so your toppings don't slide right off when you take that first bite.
-
If your kitchen is chilly (below 22°C), just give the dough a bit more time—maybe 2² to 3 hours—to rise comfortably.
-
Brush on a tiny bit of olive oil before adding toppings to get a crust that's extra crisp and fragrant.
-
Use parchment paper on your peel to stop the dough from sticking; it's much less stressful, honestly.
-
For the absolute best flavor, let your dough balls do a cold rise in the fridge for 24 to 48 hours.
Pro Tips
Just trust your hands and the smell of the dough, and you'll do wonderful.

Better For You Treats
Since we're using a natural sourdough starter, it's often a bit gentler on the tummy than store-bought yeast. I love that it's dairy-free by nature, and you can easily swap in some whole-wheat flour for a bit more fiber.
Ways to Make it Your Own
You can stir in 5g of premium olive oil right at the start for a richer feel, or replace 125g of the bread flour with whole-wheat flour. I've found that playing with the flour mix gives it such a cozy, personalized taste.
Serving Suggestions
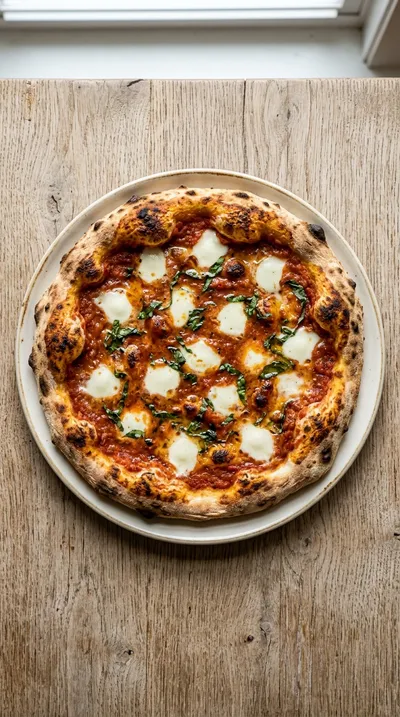
A classic Margherita with fresh mozzarella is always my go-to, but oh, a pizza salad with arugula and balsamic glaze is just lovely. Pair it with some roasted cherry tomatoes for a meal that feels like a warm hug.
Frequently Asked Questions
→ What if my dough isn't rising quickly enough?
Don't fret, sourdough works on its own clock. Just move it to a warmer, draft-free spot and give it another hour; it'll get there, I promise.
→ Can I make this dough in advance?
Oh, absolutely! In fact, I think it tastes even better if you let it slow-rise in the fridge for a day or two. Just wrap the balls tightly so they don't dry out.
→ My dough is too sticky to handle, what do I do?
Oops, that happens to the best of us. Just keep using the stretch-and-fold method instead of adding too much extra flour—it'll firm up as the gluten develops.
Nutrition Facts
per serving
470
Calories
9g
Protein
80g
Carbs
2g
Fat
Taste Profile
A balanced tang from the sourdough with a savory, salty finish.
Ingredient Substitutions
Don't have an ingredient? Try these alternatives
The crust will be softer and less chewy due to lower protein.
Use a similar weight; the flavor profile remains almost identical.
Recipe Variations
Try these delicious twists on the original
Olive Oil Infused Sourdough Pizza Dough
For a richer, more fragrant crust, simply add 5g (1 tablespoon) of premium olive oil to the initial mix. It gives a lovely aroma and a slightly crispier edge.
Whole-Wheat Partial Substitute Pizza Dough
If you're looking for more fiber and a deeper flavor, replace 25% of the bread flour (about 125g) with whole-wheat flour while keeping the water the same.
Common Mistakes to Avoid
Learn from others' mistakes for perfect results
- Rushing the bulk fermentation in a cold kitchen, leading to a flat crust.
- Forgetting to remove the parchment paper before the final bake stage.
- Over-handling the dough during shaping, which can deflate the air bubbles.
Meal Prep & Storage
Make Ahead Tips
You can make the dough balls and keep them in the refrigerator for up to 3 days. In fact, a cold rise of 24–48 hours usually results in a more complex, delicious flavor.
Leftover Ideas
Freeze unused dough balls individually wrapped in plastic and foil. Thaw overnight in the fridge and let them proof at room temperature for 4–6 hours before baking.
Perfect Pairings
Serve this with...
Cooking Timeline
Mixing, incorporating starter, and 20-minute autolyse rest.
Bulk fermentation with stretch-and-fold intervals every 30 minutes.
Dividing dough into 320g balls and final proofing.
Preheating the oven and pizza stone to 260°C.
Baking the pizza until edges are caramelized.


Sourdough Pizza Dough – Grams Formula for Perfect Crust
There is something so comforting about a sourdough pizza dough that yields a golden, blistered crust and a soft, airy center. Using 500g bread flour and active sourdough starter, this formula creates a professional-grade base right in your own cozy kitchen.
Timing
Prep Time
45 Minutes
Cook Time
12 Minutes
Total Time
237 Minutes
Recipe Details
Ingredients
Main Ingredients
-
01
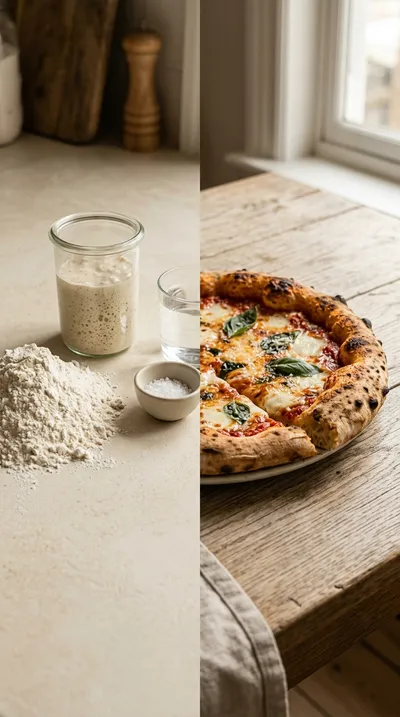
500g bread flour
-
02
350g tap water (25°C)
-
03
100g active sourdough starter (100% hydration)
-
04
10g sea salt
Instructions
Grab your large mixing bowl and whisk together the 500g bread flour and 350g tap water (25°C). You're looking for a shaggy, uneven dough where all the flour is just hydrated. It's a bit messy, but that's okay.
Now, stir in the 100g active sourdough starter. Use a wooden spoon or just your hands—I prefer the feel of the dough—and mix until it's mostly uniform, though it'll still be quite sticky.
Cover the bowl loosely with a clean towel or some plastic wrap. Let it rest for about 20 minutes for the autolyse; this just gives the flour a chance to fully wake up.
Drizzle the 10g sea salt over the top. Fold and stretch the dough 2–3 times to get that salt integrated, then cover it and let it rise at room temperature for about 2 hours. Every 30 minutes, give it a gentle stretch-and-fold to build some strength.
Once the bulk fermentation is done, divide the dough into three equal portions of 320g each. Shape them into neat little round balls and place them on parchment-lined baking sheets. Cover them with a damp towel and let them proof for one last 30-minute rise.
While those are resting, preheat your oven to 260°C (500°F) with your pizza stone or steel on the middle rack. I usually slide a baking sheet underneath just to catch those little drifting crumbs.
When the oven is hot and ready, flip one dough ball onto the stone using a parchment-lined pizza peel. Quickly slide the parchment out from under the dough so it's directly on the hot stone, then close that door fast to keep the heat inside.
Bake for 10–12 minutes. You're looking for those beautiful caramelized edges and a golden-brown surface with a few little blisters. The dough should feel firm but still have that gentle chew we love.
Move the hot pizza to a cutting board. Honestly, just let it cool for a minute or two before slicing it with a pizza cutter. Then, repeat the process for your other dough balls.
Serve it up immediately with your favorite toppings and cheese. If you're making a few, you can keep the finished ones warm in a low-heat oven.
Notes & Tips
-
1
If your kitchen is a bit chilly (below 22°C), you might need to extend your bulk rise to 2½–3 hours.
-
2
A light sheet of parchment during the initial bake prevents sticking and makes flipping onto the stone much easier.
-
3
Using a baking sheet under your stone is a lifesaver for keeping the oven floor clean.
Tools You'll Need
-
Large mixing bowl for combining ingredients
-
Dough scraper for handling sticky dough
-
Kitchen scale for precise gram measurements
-
Plastic domed container for proofing
-
Pizza peel for transferring dough
-
Pizza stone or baking steel for a crisp bottom
-
Baking sheet to catch crumbs
-
Parchment paper for easy release
-
Oven capable of reaching 260°C (500°F)
Must-Know Tips
-
Room Temperature, ensure your kitchen is warm enough or extend the rise time to 3 hours if it's under 22°C.
-
Parchment Usage, use parchment on the peel to prevent the dough from sticking before flipping it onto the stone.
-
High Heat, make sure the oven is fully preheated to 260°C to get those signature caramelized edges.
Professional Secrets
-
The autolyse rest (Step 3) is key for better gluten development and a smoother dough.
-
Stretch-and-folds every 30 minutes create the structure needed for a chewy center and crisp edge.
-
Brushing the dough with 5g of extra virgin olive oil before toppings adds a professional shine and crispness.
What readers are saying
Community reviews from home cooks like you
Nice base recipe. The flour flavor was nice, but i added a bit more seasoning next time. I might try it again with some adjustments.
This was a hit with my family. I really liked how the 500g bread flour and 350g tap water (25°C) came together. I added a bit more seasoning next time. Already shared it with a friend.

Recipe by
Sofia RiveraExploring the world through food 🌍🍲 Rich flavors, exciting dishes, and endless culinary inspiration ✨
Get Delicious Recipes Weekly
Join 25,000+ home cooks getting our best recipes straight to their inbox.
Free forever • No spam • Unsubscribe anytime