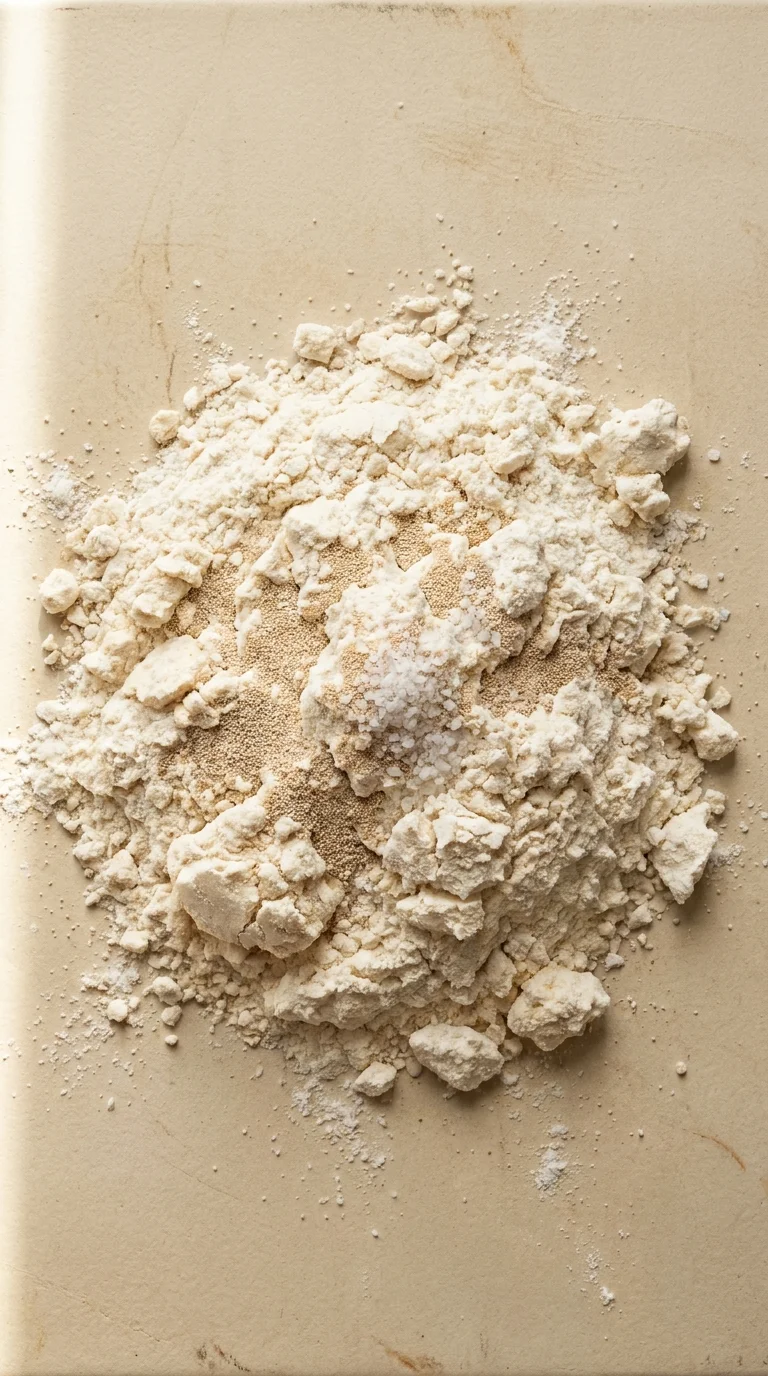
The art of the pizza crust is a journey that began in the heart of Naples, where the marriage of simple ingredients created a global obsession. Historically, the Neapolitan style relied on high-heat wood-fired ovens to achieve a rapid rise, resulting in a crust that was simultaneously charred and tender. This balance of air and chew is what defines a truly authentic artisan base.
Over time, the tradition of homemade pizza dough traveled across oceans, adapting to the home kitchens of different cultures. While the original Italian masters focused on specific grain types, the modern home cook has learned to utilize the higher protein content of bread flour to mimic that professional elasticity. It is a testament to how a few humble staples can be transformed through patience and heat.
Today, making pizza at home is less about strict adherence to tradition and more about the ritual of preparation. The process of kneading and proofing allows the flavors of the olive oil and yeast to develop, turning a basic mixture into a canvas for endless toppings. It remains one of the most beloved comfort foods because it brings people together around a single, steaming pie.
Why You'll Love It
-
- Honestly, there is nothing like the smell of homemade pizza dough rising on a quiet afternoon; it just makes the whole house feel cozy.
-
- I love how this crust turns out so billowy and soft, yet it has that wonderful chew that reminds me of the little artisan shops I used to visit.
-
- It is just so simple to put together, yeah, and it gives you that grounding feeling of creating something from scratch for your family.
-
- Wow, the way the golden-brown edges crunch just slightly before hitting that airy middle is just... well, it is pure comfort on a plate.
"It's just so soft... honestly, it tastes exactly like the specialty pies we used to get on vacation!"
Essential Ingredient Guide
- 4 cups bread flour: This is what gives us that lovely, chewy structure. I remember when I first tried all-purpose, but bread flour just has that extra strength for a better rise.
- 2 teaspoons active dry yeast: The little magic that makes the dough breathe. Just make sure it gets foamy in the warm water, or it won't do its job, oops.
- 3 tbsp olive oil: It adds a gentle richness to the crumb. I find it helps the dough feel supple and keeps the crust from drying out too much in the oven.
- 1 1/2 teaspoons salt: Don't skip this, look, because salt is what actually brings out the flavor of the wheat. It keeps the taste from being too bland.
- 1 1/2 cups warm water (110°F/43°C): The temperature is key here. Too hot and you'll hurt the yeast, so just a gentle warmth—like a baby's bath—is perfect.
- 1 tsp sugar: I use just a tiny bit to feed the yeast. It doesn't make the pizza sweet, it just helps everything get moving along.

Complete Cooking Process
-
Getting Everything Ready:
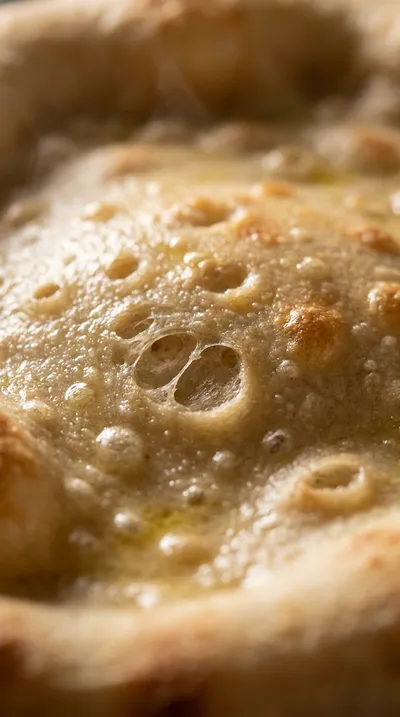
We start by waking up the yeast in that warm water and sugar. It's a quiet little moment of waiting for those bubbles to appear before we mix in our flour.
-
Developing the Flavor:
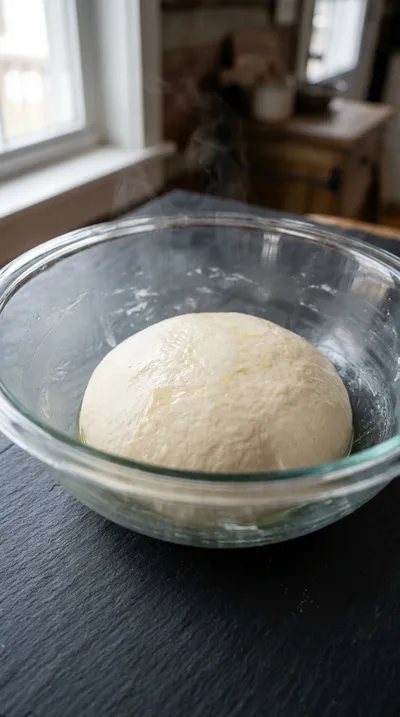
The flavor really settles in during that one-hour rise. As the dough doubles in size, it develops that classic, yeasty aroma that just feels like home.
-
Perfecting the Texture:
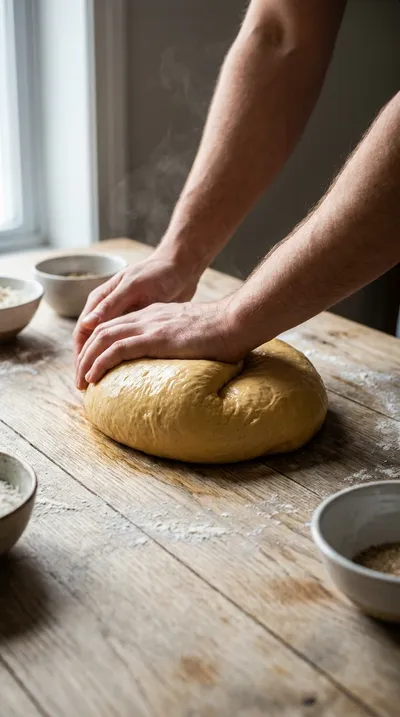
Kneading for 7-10 minutes is where the magic happens. You can feel the dough change from shaggy to smooth and elastic right under your palms.
-
The Final Touch:
Giving the dough a 15-minute rest on the pan before topping it helps it relax. It means the crust won't shrink back when you try to stretch it.
-
Serving it Just Right:
I always let mine cool for about 5 minutes after it comes out. It lets the cheese set just a bit so the toppings don't slide off when you slice it.
-
Use bread flour for a chewier texture; all-purpose flour works if you're short on time.
-
If you can't find active dry yeast, use instant yeast (same amount) and skip the proofing step.
-
For a crispier crust, preheat the pizza stone for at least 30 minutes before baking.
-
Punch down the dough gently before dividing it into two equal portions.
Pro Tips
Just take your time with it, and it'll turn out lovely.

Better For You Treats
If you're looking to be a bit more mindful, you can replace some of the 4 cups bread flour with whole-wheat flour. It adds a nice nuttiness and some extra fiber to make the meal feel a bit more balanced.
Ways to Make it Your Own
I sometimes like to try a Whole Wheat Pizza Dough by replacing half the flour and adding an extra tablespoon of liquid. Or, if you're in a rush, all-purpose flour makes a softer, quicker crust.
Serving Suggestions
I love pairing this with a fresh green salad tossed in balsamic vinaigrette to cut through the richness. For something extra, a side of garlic knots or a little tomato salsa with olive oil is just wonderful.
Frequently Asked Questions
→ What if my dough is too sticky to knead?
Don't worry, it happens! Just sprinkle in a tablespoon of flour at a time until it feels smooth and stops sticking to your fingers.
→ Can I make this dough ahead of time?
Yes, indeed. You can keep it in the fridge for up to 24 hours or even freeze it for two weeks if you have a busy week coming up.
→ Why didn't my dough rise?
It's usually the water temperature—if it's too hot, it might have killed the yeast. Next time, just make sure it's a gentle, warm temperature.
Nutrition Facts
per serving
620
Calories
22g
Protein
85g
Carbs
12g
Fat
Taste Profile
A balanced, yeasty, and savory crust with a hint of olive oil richness.
Ingredient Substitutions
Don't have an ingredient? Try these alternatives
Use the same amount and you can skip the 5-7 minute proofing step.
Works just fine, though you lose a little bit of that Mediterranean flavor.
Recipe Variations
Try these delicious twists on the original
All-Purpose Flour Pizza Dough
If you're in a hurry or out of bread flour, substitute 4 cups of all-purpose flour. It'll be a slightly softer crust and requires a bit less kneading.
Whole Wheat Pizza Dough
For a nuttier flavor and extra fiber, replace half of the bread flour with whole-wheat flour. Just remember to add an extra tablespoon of liquid to keep it from being too dry.
Common Mistakes to Avoid
Learn from others' mistakes for perfect results
- Using water that is too hot, which kills the yeast and prevents the rise.
- Under-kneading the dough, leading to a lack of chew and structure.
- Skipping the final 15-minute rest, which makes the dough snap back when shaping.
Meal Prep & Storage
Make Ahead Tips
You can prepare the dough and keep it in the refrigerator for up to 24 hours, allowing the flavors to develop beautifully.
Leftover Ideas
Any unused dough can be wrapped tightly in plastic wrap and frozen for up to 2 weeks. Thaw it overnight in the fridge before using.
Perfect Pairings
Serve this with...
Cooking Timeline
Activate yeast and whisk dry ingredients
Mix and knead the dough until smooth
Let the dough rise in a warm spot
Shape disks and let them rest
Top and bake until golden brown

Homemade Pizza Dough – Soft & Chewy Crust
There is something so grounding about the smell of homemade pizza dough rising on a rainy afternoon. This recipe creates a billowy, soft, and chewy crust that feels like a warm hug for your taste buds.
Timing
Prep Time
15 Minutes
Cook Time
60 Minutes
Total Time
75 Minutes
Recipe Details
Ingredients
Dough Ingredients
-
01
1 1/2 cups warm water (110°F/43°C)
-
02
4 cups bread flour
-
03
2 teaspoons active dry yeast
-
04
1 tsp sugar
-
05
1 1/2 teaspoons salt
-
06
3 tbsp olive oil
Instructions
Start by grabbing a small bowl and combining your 1 1/2 cups warm water (110°F/43°C), 1 tsp sugar, and 2 teaspoons active dry yeast. Give it a light stir and just let it sit for about 5-7 minutes; you're looking for it to get all foamy on top, which means the yeast is waking up.
In a larger mixing bowl, go ahead and whisk together your 4 cups bread flour and 1 1/2 teaspoons salt. I like to make sure they're well blended before the wet stuff goes in.
Now, make a little well in the center of your dry ingredients. Gently pour in that foamy yeast mixture and your 3 tbsp olive oil.
Using a wooden spoon or just your hands—which is my favorite part—stir everything together until a shaggy dough forms. It'll look a bit messy at first, but that's okay.
Turn the dough out onto a surface you've lightly floured. Knead it for about 7-10 minutes. If it feels too sticky, just add a tablespoon of flour here and there until it feels smooth and elastic. It's a bit of a workout, but so worth it.
Shape your dough into a nice ball and tuck it into a lightly oiled bowl. Cover it with plastic wrap or a damp kitchen towel and let it nap in a warm spot for 1 hour, or until it's doubled in size. Just be patient with it.
Gently punch down the dough—it's actually quite satisfying—then divide it into two equal portions. Shape each one into a round pizza disk, about 12 inches across.
Place those disks on a pizza stone or a greased baking sheet. Cover them loosely with a towel and let them rest for 15 minutes while you preheat your oven to 475°F (245°C).
Now for the fun part! Top your dough with sauce, cheese, and whatever else you're craving. Bake for 12-15 minutes until the crust is a lovely golden brown and the cheese is all bubbly.
Take them out of the oven and let them cool for about 5 minutes. Honestly, waiting is the hardest part, but it makes the slicing much cleaner. Serve them hot!
Notes & Tips
-
1
Bread flour is really the secret to that professional chewy texture we all love.
-
2
If your kitchen is chilly, the dough might take a little longer to rise; just give it time.
-
3
Don't over-flour your surface during kneading or the crust can get too dense.

Tools You'll Need
-
Large mixing bowl for combining the dough
-
Whisk for aerating the dry ingredients
-
Measuring cups and spoons for precision
-
Spatula or dough scraper to help handle the sticky bits
-
Plastic wrap or a clean kitchen towel for the rise
-
Pizza stone or baking sheet for the bake
-
Oven for high-heat baking
Must-Know Tips
-
Yeast Proofing, Let the yeast sit for 5-7 minutes until foamy to ensure it's active.
-
Flour Choice, Use bread flour for chewiness; all-purpose works in a pinch.
-
Preheating, Preheat your pizza stone for 30 minutes for a truly crispier crust.
Professional Secrets
-
The 15-minute rest after shaping allows the gluten to relax, making the dough easier to stretch.
-
Using a high oven temperature of 475°F creates that artisan-style oven spring.
-
Adding a tiny bit of sugar helps the yeast activate and gives the crust a better golden color.
What readers are saying
Community reviews from home cooks like you
So easy and delicious. I really liked how the 1 1/2 cups warm water (110°F/43°C) and 4 cups bread flour came together. I added a bit more seasoning next time. Highly recommend giving it a try.
I was surprised how good this turned out. I really liked how the 1 1/2 cups warm water (110°F/43°C) and 4 cups bread flour came together. It took slightly longer than the recipe said. Great addition to my recipe rotation.
Perfect for a busy weeknight. I really liked how the 1 1/2 cups warm water (110°F/43°C) and 4 cups bread flour came together. My kids even asked for seconds.
Perfect for a busy weeknight. I really liked how the 1 1/2 cups warm water (110°F/43°C) and 4 cups bread flour came together. Great addition to my recipe rotation.
I was surprised how good this turned out. I really liked how the 1 1/2 cups warm water (110°F/43°C) and 4 cups bread flour came together. Already shared it with a friend.
My new favorite way to make Homemade Pizza Dough – Soft & Chewy Crust. I really liked how the 1 1/2 cups warm water (110°F/43°C) and 4 cups bread flour came together. Will be making this regularly.
This was a hit with my family. I really liked how the 1 1/2 cups warm water (110°F/43°C) and 4 cups bread flour came together. I swapped one ingredient and it still worked. My kids even asked for seconds.
This exceeded my expectations. I really liked how the 1 1/2 cups warm water (110°F/43°C) and 4 cups bread flour came together. Saving this for later.
Can't believe how simple this was. I really liked how the 1 1/2 cups warm water (110°F/43°C) and 4 cups bread flour came together. I found it a bit sweet for my taste. Perfect as written.
The flavors were spot on. I really liked how the 1 1/2 cups warm water (110°F/43°C) and 4 cups bread flour came together. It took slightly longer than the recipe said. Saving this for later.

Recipe by
Sofia RiveraExploring the world through food 🌍🍲 Rich flavors, exciting dishes, and endless culinary inspiration ✨
Get Delicious Recipes Weekly
Join 25,000+ home cooks getting our best recipes straight to their inbox.
Free forever • No spam • Unsubscribe anytime