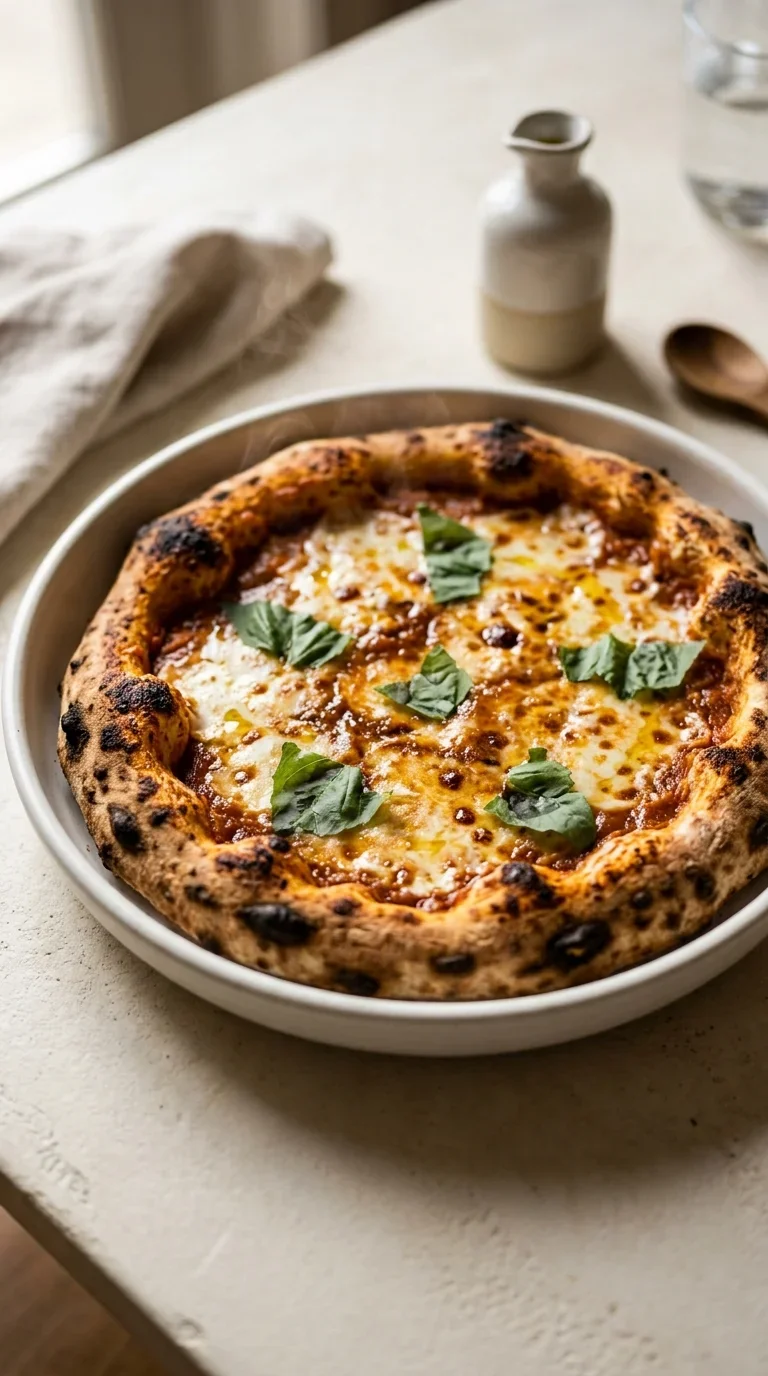
The art of the sourdough pizza dough is a nod to the ancient tradition of wild fermentation, long before commercial yeast was a pantry staple. In the heart of Italy, the transition from traditional breads to the airy, blistered crusts of Neapolitan style relied on the alchemy of flour, water, and time.
Historically, these wild cultures were passed down through families, creating a unique flavor profile for every village. The slow breakdown of starches by the lactic acid bacteria not only creates that signature tang but also makes the crust far easier on the digestion.
Today, returning to this method is a quiet rebellion against the rush of modern cooking. By combining 500 g bread flour (high‑protein) with a living starter, we are participating in a culinary rhythm that has sustained people for centuries, turning simple ingredients into something deeply nourishing.
Why You'll Love It
-
- Honestly, there is something so grounding about that deep, savory tang you only get from using an active sourdough starter.
-
- I just love how the crust turns out—crisp on the outside but with those lovely, airy bubbles inside that make it feel so special.
-
- Well, look, it is just the perfect excuse to slow down for an afternoon and really enjoy the feel of the dough under your hands.
-
- Wow, it's such a crowd-pleaser; your kitchen will smell like a cozy Italian bakery and everyone will be asking for the secret.
"I've tried a dozen crusts, but this one has a depth of flavor that's just unmatched. My kids actually ate the crusts!"
Essential Ingredient Guide
- 500 g bread flour (high‑protein): I always use a high‑protein flour because it gives the crust that wonderful chew. It creates a resilient structure so your toppings don't make the dough soggy.
- 120 g active sourdough starter (100% hydration): This is the heart of the recipe, really. Make sure it's bubbly and active; I remember when I first started, I'd get too impatient, but the wait is so worth that flavor.
- 1 tsp honey: This one is optional, but I like a tiny bit for a subtle sweetness. It just rounds out the acidity of the starter in a way that feels very balanced.
- 1 tbsp sea salt: Don't skip this, or the dough will taste a bit flat. I sprinkle it in after the initial mix to make sure the yeast doesn't get overwhelmed too early.
- 2 tbsp extra‑virgin olive oil: It adds a lovely richness and helps the dough feel supple. Plus, it gives the crust a beautiful golden glow when it hits that hot stone.
- 375 g warm water (75°F): Warm water is key to waking up the starter. Just be careful it isn't too hot, or you'll accidentally hurt the wild yeast, and that would be a real shame.
 Snacks, Appetizers & Fun Bites
Smoked Salmon Recipe – Quick & Easy
Quick, smoky, and tender smoked salmon—ideal for snacking or dressing up a platter.
Complete Cooking Process
-
Ingredient Readiness:
Start by making sure your 120 g active sourdough starter is bubbly and ready to go. I find it helps to have the 375 g warm water exactly at 75°F so the fermentation starts off on the right foot.
-
Flavor Development:
The magic happens during the bulk fermentation and those gentle stretch‑folds. That's where the sourdough develops its signature depth and that slightly tangy aroma we all love.
-
Texture Control:
Kneading for 8‑10 minutes is what creates that smooth, elastic feel. If it's a bit sticky, just a pinch of flour on your hands does the trick—no need to overdo it.
-
Finishing Touches:
Gently stretching the dough into a 12‑inch circle is the final step before the toppings go on. I like to keep the edges a bit thicker for a nice, puffy crust.
-
Serving Timing:
Let the pizza rest for about 2 minutes after it comes out of the oven. It just gives the cheese a moment to set so everything stays in place when you slice into it.
-
Use a high‑protein bread flour to maximize gluten development and create a chewy, resilient crust.
-
For an extra savory flavor, let the starter feed for 4‑6 hours before mixing to boost acidity.
-
Make sure your pizza stone is preheated at 500°F for at least 45 minutes for that perfect crisp.
-
If the dough feels dry during shaping, lightly brush it with a bit more water.
Pro Tips
You've got this, just trust the process and your dough will be wonderful.


Better For You Treats
I love that this dough is naturally fermented, which honestly makes it so much easier on the stomach. Since it's lower in glycemic index than instant yeast, it feels like a more mindful way to enjoy a pizza night.
Ways to Make it Your Own
If you're feeling adventurous, you could try a Sicilian‑style by using a 12‑hour cold ferment and swapping half the flour for whole‑wheat. Or, for something light, increase the water to 425 g for a Neapolitan feel.
Serving Suggestions
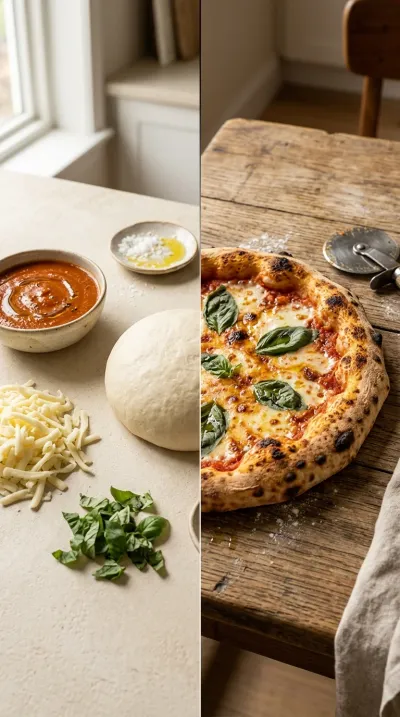
A classic marinara with mozzarella and fresh basil is always my go‑to. But oh, a white garlic‑olive oil sauce with goat cheese and caramelized onions is just so elegant for a quiet date night.
Frequently Asked Questions
→ What if my dough isn't doubling in size during proofing?
Don't panic, it happens! Your kitchen might just be a bit chilly, so try moving the dough to a warmer spot, like inside the oven with the light on.
→ Can I make the dough ahead of time?
Yeah, absolutely. I often put my dough balls in the fridge overnight, then just let them sit at room temperature for a couple of hours before baking.
→ My dough is sticking to the peel, what do I do?
Oops, that's the worst! Just sprinkle a little extra flour or cornmeal on the peel before you stretch the dough onto it, and it should slide right off.
Nutrition Facts
per serving
310
Calories
12g
Protein
58g
Carbs
4g
Fat
Taste Profile
A deep, savory base with a characteristic sourdough tang.
Ingredient Substitutions
Don't have an ingredient? Try these alternatives
The crust will be softer and less chewy.
Provides a similar subtle sweetness.
Recipe Variations
Try these delicious twists on the original
Sicilian‑Style Sourdough Pizza
For a denser, nuttier crust, try a 12‑hour cold fermentation at 50°F and replace half of the bread flour with whole‑wheat flour.
Neapolitan Sourdough Pizza
Go for a lighter, airier classic by increasing hydration to 70% (425 g water), fermenting at 90°F for 1 hour, and baking for 12‑14 minutes.
Common Mistakes to Avoid
Learn from others' mistakes for perfect results
- Under-heating the stone, which leads to a pale, soft bottom crust.
- Skipping the autolyse, making the dough harder to knead.
- Over-handling the dough during stretching, which can pop the airy bubbles.
Meal Prep & Storage
Make Ahead Tips
You can make the dough balls and keep them in the fridge overnight for a slower proof, which actually develops even more flavor.
Leftover Ideas
Store baked pizza in the fridge. Reheat in a pan or oven to maintain the crispness of the crust—ugh, the microwave just makes it soggy!
Perfect Pairings
Serve this with...
Cooking Timeline
Mix flour and water; let the dough autolyse.
Mix in starter and oil; knead until elastic.
Bulk fermentation with stretch‑folds.
Divide into balls and proof at room temperature.
Stretch, top, and bake on a hot stone.


Sourdough Pizza Dough Recipe for Incredible Flavor
A warm, chewy crust with those beautiful charred bubbles, made possible by a patient sourdough pizza dough. The scent of 500 g bread (high‑protein) and active sourdough starter filling the kitchen is just pure comfort.
Timing
Prep Time
30 Minutes
Cook Time
15 Minutes
Total Time
210 Minutes
Recipe Details
Ingredients
Main Ingredients
-
01
500 g bread flour (high‑protein)
-
02
375 g warm water (75°F)
-
03
120 g active sourdough starter (100% hydration)
-
04
2 tbsp extra‑virgin olive oil
-
05
1 tbsp sea salt
Optional Additions
-
01
1 tsp honey (for a subtle sweetness, omit if plain dough desired)
Instructions
Start by whisking your 500 g bread flour (high‑protein) and 375 g warm water (75°F) in a large bowl. Just mix it until a shaggy dough forms—it doesn't need to be pretty yet. Cover it up and let it rest for 30 minutes. This is the autolyse phase, and honestly, it's where the magic happens to help the flour hydrate.
Now, stir in your 120 g active sourdough starter (100% hydration) and 2 tbsp extra‑virgin olive oil. Once that's all mixed in, sprinkle the 1 tbsp sea salt over the top. Move the dough to a lightly floured surface or use a dough hook, and knead for about 8‑10 minutes. You're looking for it to feel smooth and elastic under your hands.
Place your dough in a lightly oiled bowl and cover it with plastic wrap or a damp cloth. Let it bulk ferment at 75°F for 2 hours. During the first 30 minutes, we'll do a few stretch‑folds—just pull a third of the dough up and fold it over, rotate the bowl 90°, and repeat until you've done 4 folds. It really helps the structure, yeah.
After the bulk ferment, turn the dough onto a floured surface. Gently divide it into 4 equal portions (about 125 g each) and shape them into tight little balls. Set them on a parchment‑lined baking sheet or your pizza peel and cover them with a towel.
Let those dough balls proof at room temperature (70°F) for about 1 hour. You'll know they're ready when they've visibly doubled in size. Wow, they really puff up!
While the dough is doing its thing, preheat your oven to 500°F (260°C). Make sure your pizza stone is right in the middle rack and let it get scorching hot for at least 45 minutes.
Take one proofed dough ball and sprinkle a little flour on your palms and the counter. Gently stretch the dough into a 12‑inch circle. Now comes the fun part‑add your favorite sauce, cheese, and toppings.
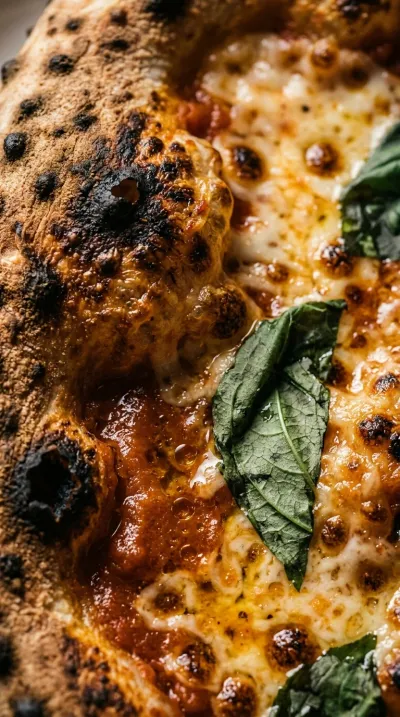
Carefully slide your pizza onto the hot pizza stone using your peel. Bake for 12‑15 minutes. Look for that beautiful golden brown crust and cheese that's bubbly and just a bit crisp.
Remove the pizza and let it rest for 2 minutes. I know it's hard to wait, but it helps the cheese set before you slice in with the pizza cutter.
Repeat the stretching and baking for the rest of your dough balls. Serve them immediately, maybe with a little fresh basil or a drizzle of olive oil on top.
Notes & Tips
-
1
High-protein bread flour is key for that chewy, resilient crust we all love.
-
2
If the dough feels too sticky while you're shaping, just a pinch more flour on your hands will fix it.
-
3
Feeding your starter for 4‑6 hours right before mixing gives the dough a deeper, more savory acidity.
 Quick & Easy Everyday Recipes
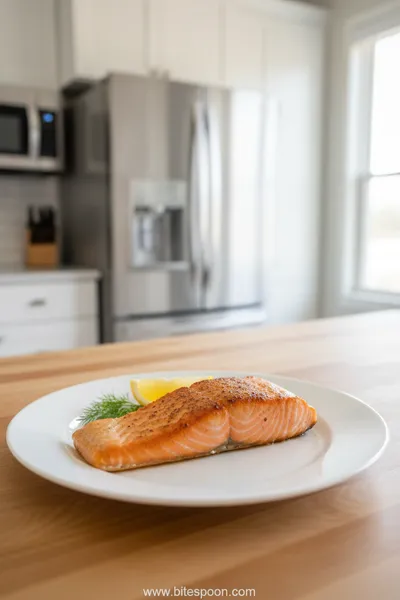
Air Fryer Salmon Recipe
A fast, flavorful salmon cooked to perfection in the air fryer, with a bright lemon‑herb glaze.
Tools You'll Need
-
Large mixing bowl for the initial shaggy mass
-
Dough scraper to help clean the bowl and divide portions
-
Kitchen scale for precise measurements
-
Plastic wrap or damp towel to keep the dough moist
-
Pizza peel or parchment‑lined baking sheet for easy transferring
-
Pizza stone for that professional heat
-
Pizza cutter for clean slices
-
Measuring spoons for the oil and salt
Must-Know Tips
-
Bread Flour, Use high-protein bread flour to maximize gluten and create a better chew.
-
Dough Texture, If it's too dry, just brush a tiny bit of water on it; if sticky, use flour.
-
Starter Timing, Feed the starter 4‑6 hours before use for a more complex flavor.
Professional Secrets
-
The Autolyse, letting the flour and water rest for 30 minutes makes the dough much easier to handle.
-
Stretch-and-Fold, performing 4 sets of folds during bulk fermentation builds strength without heavy kneading.
-
Stone Preheating, heating the stone for a full 45 minutes ensures a crisp bottom crust.
What readers are saying
Community reviews from home cooks like you
I wanted to love this dish, but it didn't quite work for me. Next time I'll double the sauce. I think with some tweaks it could be really good.
Pretty good overall. The (high‑protein) flavor was nice, but next time i'll double the sauce. I might try it again with some adjustments.
So easy and delicious. I really liked how the 500 g bread flour (high‑protein) and 375 g warm water (75°F) came together. It took slightly longer than the recipe said. Highly recommend giving it a try.
I wanted to love this dish, but it didn't quite work for me. I added a bit more seasoning next time. I think with some tweaks it could be really good.
Good, but not amazing. The (high‑protein) flavor was nice, but my oven needed an extra 5 minutes. I might try it again with some adjustments.
Pretty good overall. The (high‑protein) flavor was nice, but i found it a bit sweet for my taste. I might try it again with some adjustments.
Perfect for a busy weeknight. I really liked how the 500 g bread flour (high‑protein) and 375 g warm water (75°F) came together. I added a bit more seasoning next time. Perfect as written.
Pretty good overall. The (high‑protein) flavor was nice, but my oven needed an extra 5 minutes. I might try it again with some adjustments.
I wanted to love this dish, but it didn't quite work for me. It took slightly longer than the recipe said. I think with some tweaks it could be really good.
Can't believe how simple this was. I really liked how the 500 g bread flour (high‑protein) and 375 g warm water (75°F) came together. I would reduce the salt a little. Will be making this regularly.
Good, but not amazing. The (high‑protein) flavor was nice, but i would reduce the salt a little. I might try it again with some adjustments.
This exceeded my expectations. I really liked how the 500 g bread flour (high‑protein) and 375 g warm water (75°F) came together. Next time I'll double the sauce. Will be making this regularly.
Good, but not amazing. The (high‑protein) flavor was nice, but i added a bit more seasoning next time. I might try it again with some adjustments.
The flavors were spot on. I really liked how the 500 g bread flour (high‑protein) and 375 g warm water (75°F) came together. My oven needed an extra 5 minutes. Great addition to my recipe rotation.
Perfect for a busy weeknight. I really liked how the 500 g bread flour (high‑protein) and 375 g warm water (75°F) came together. Highly recommend giving it a try.
Will definitely make this again. I really liked how the 500 g bread flour (high‑protein) and 375 g warm water (75°F) came together. My oven needed an extra 5 minutes. Will be making this regularly.
Can't believe how simple this was. I really liked how the 500 g bread flour (high‑protein) and 375 g warm water (75°F) came together. Perfect as written.
I was surprised how good this turned out. I really liked how the 500 g bread flour (high‑protein) and 375 g warm water (75°F) came together. Thanks for sharing this one!
Can't believe how simple this was. I really liked how the 500 g bread flour (high‑protein) and 375 g warm water (75°F) came together. Already shared it with a friend.
This was a hit with my family. I really liked how the 500 g bread flour (high‑protein) and 375 g warm water (75°F) came together. Will be making this regularly.
It was okay, with a few tweaks. The (high‑protein) flavor was nice, but my oven needed an extra 5 minutes. I might try it again with some adjustments.

Recipe by
Sofia RiveraExploring the world through food 🌍🍲 Rich flavors, exciting dishes, and endless culinary inspiration ✨
Get Delicious Recipes Weekly
Join 25,000+ home cooks getting our best recipes straight to their inbox.
Free forever • No spam • Unsubscribe anytime