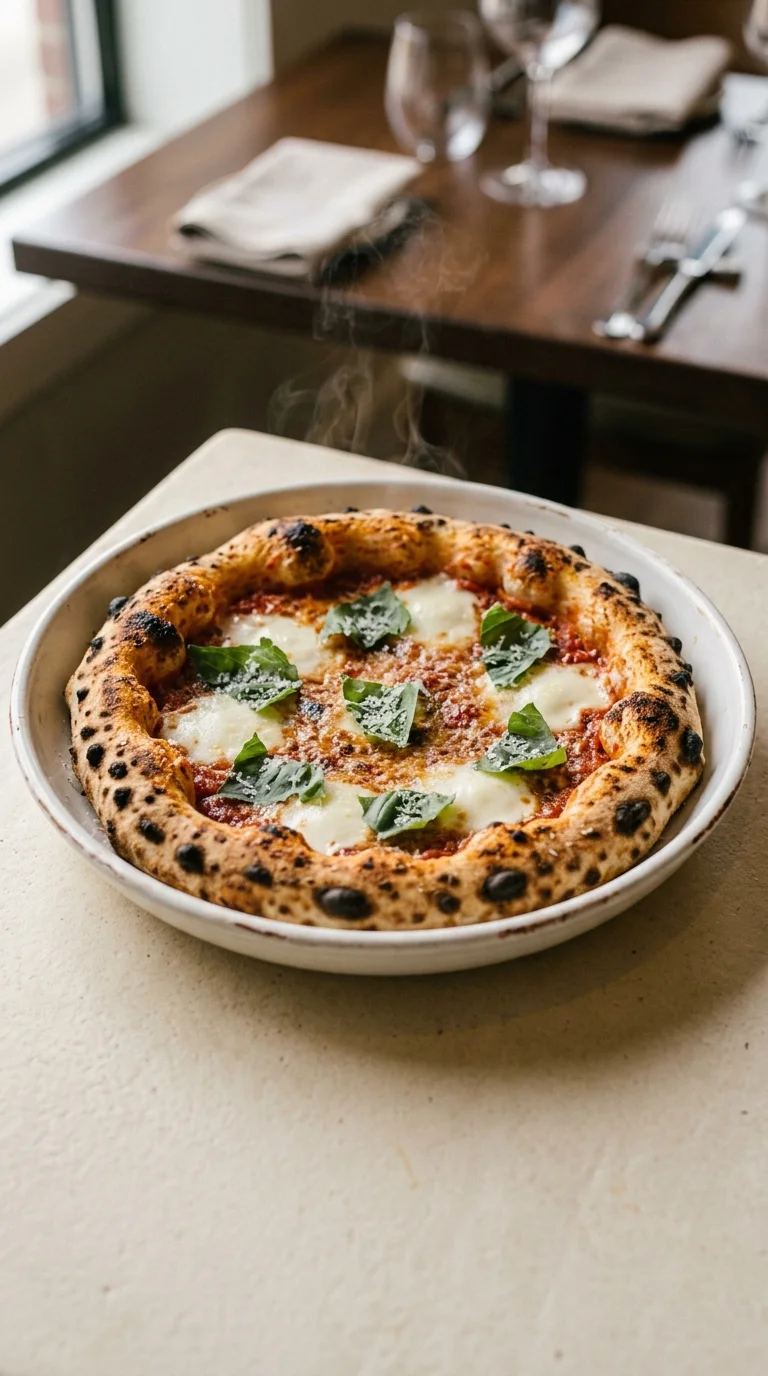
The art of the sourdough pizza dough is a beautiful marriage of ancient fermentation and the rustic traditions of Naples. While modern pizza often relies on quick-acting commercial yeast, the original spirit of bread-making utilized wild cultures, creating a depth of flavor that cannot be rushed. This slow process breaks down gluten and phytic acid, making the crust more digestible and giving it that characteristic tang.
In Italy, the pursuit of the perfect crust is almost a spiritual endeavor. The use of Type 00 flour allows for a silkiness and elasticity that defines the Neapolitan style, while a touch of high-protein bread flour provides the structural integrity needed for a home oven. It is a balance of science and intuition, passed down through generations of bakers who understood that time is the most important ingredient.
Culturally, sharing a pizza is about more than sustenance; it is about community. From the communal ovens of old European villages to the modern kitchen table, the act of stretching dough and topping it with fresh ingredients remains a universal language of care and hospitality.
Why You'll Love It
-
- Honestly, there is something so grounding about the tang of 1 cup (240 g) active sourdough starter meeting the heat of the oven. It gives the crust a soul that commercial yeast just can't touch.
-
- I mean, the combination of 4 cups (640 g) Type 00 flour and 1 cup (128 g) high-protein bread flour makes for a chew that is just... wow, it feels like a real artisan bakery in your own kitchen.
-
- Well, the long cold prove is where the magic happens; it's a slow, quiet process that develops those beautiful little blisters on the crust we all love.
-
- Look, it's just such a lovely way to spend a weekend, folding the dough and watching it grow, ending in a crisp, golden pizza that brings everyone to the table.
"Honestly, the chew on this crust is incredible. My kids actually asked for seconds, which... wow, that never happens!"
Essential Ingredient Guide
- 1 cup (240 g) active sourdough starter, 100% hydration: This is the heart of the whole thing. I always make sure mine is bubbly and fed about 4-6 hours before I start, so it's got plenty of energy to lift the dough.
- 4 cups (640 g) Type 00 flour: So, this flour is milled so finely it feels like silk. It's what gives you that classic, airy Neapolitan-style crust without being too heavy.
- 1 tbsp (15 ml) extra-virgin olive oil: Just a little bit goes a long way here. It keeps the dough supple and adds a gentle, fruity fragrance that I just adore.
- 2 tsp (10 g) fine sea salt: Don't skip this, or the bread will taste flat. I add it after the autolyse to make sure the flour has time to hydrate first.
- 2 cups (480 g) lukewarm water, 80°F: Warmth is key, but not too hot—we don't want to scare the starter! It should feel like a cozy bath to the touch.
- 1 tsp (5 g) sugar, optional for fermentation balance: I only add this if my starter is feeling a bit sluggish. It just gives those wild yeasts a tiny bit of extra sweetness to feed on.
Complete Cooking Process
-
Ingredient Readiness:
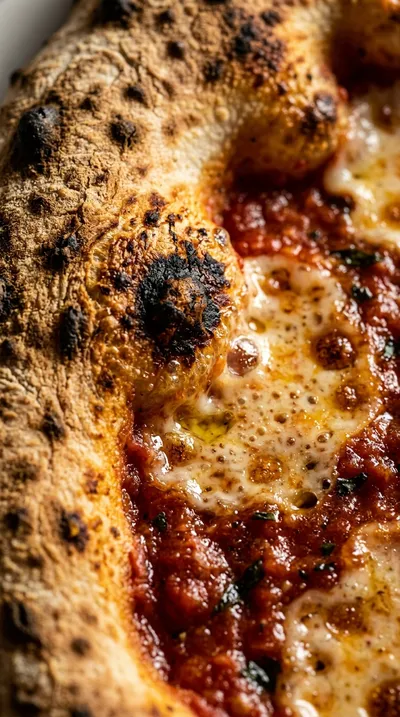
Everything starts with a healthy starter fed a few hours prior and lukewarm water. Mixing the flours and water first for a 30-minute autolyse lets the dough relax before the salt goes in.
-
Flavor Development:
The real depth comes during the 16-24 hour cold prove in the refrigerator. It's a slow dance that turns simple flour and water into that complex, tangy flavor we crave.
-
Texture Control:
Those set-folds every hour during bulk fermentation are so important for building strength. It's what ensures the crust is chewy inside but gets those lovely blisters outside.
-
Finishing Touches:
Brushing the edges lightly with olive oil before baking is my little secret. It helps the crust brown beautifully and gives it a professional, glossy look.
-
Serving Timing:
Wait just 5 minutes on a cooling rack after it comes out of the 500°F oven. It lets the cheese set and the crust firm up just enough so the slices stay neat.
-
Use a starter fed 4-6 hours before mixing for a punchy rise and cleaner flavor.
-
Lightly oil the live dough before shaping for an extra crisp edge.
-
Keep toppings modest to avoid a soggy base; less is often more here.
-
Allow dough to return to room temperature for 20-30 minutes before stretching.
Pro Tips
Just take your time with it, and your kitchen will smell like a dream.
 Snacks, Appetizers & Fun Bites
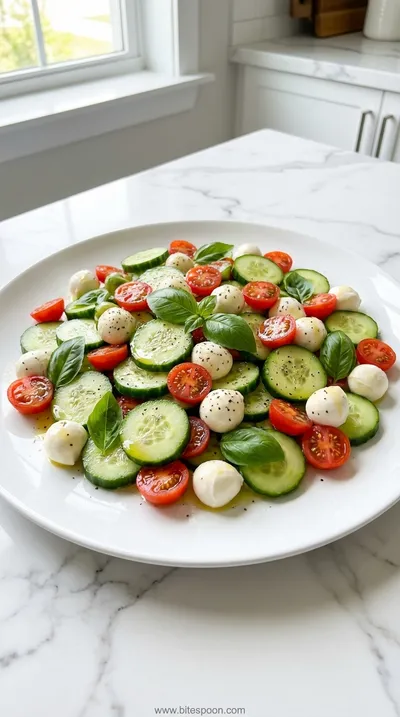
Quick Cucumber Mozzarella Salad
A quick, crisp cucumber and mozzarella salad with a hint of sweet vinaigrette.
Better For You Treats
Sourdough is just gentler on the tummy, honestly. The long fermentation process breaks down some of the gluten, making this a more mindful way to enjoy a comforting slice of pizza.
Ways to Make it Your Own
You can fold in a tablespoon of dried rosemary and a teaspoon of dried oregano during kneading for an aromatic twist. Or, if you're avoiding gluten, try a balanced blend of rice and potato starch.
Serving Suggestions
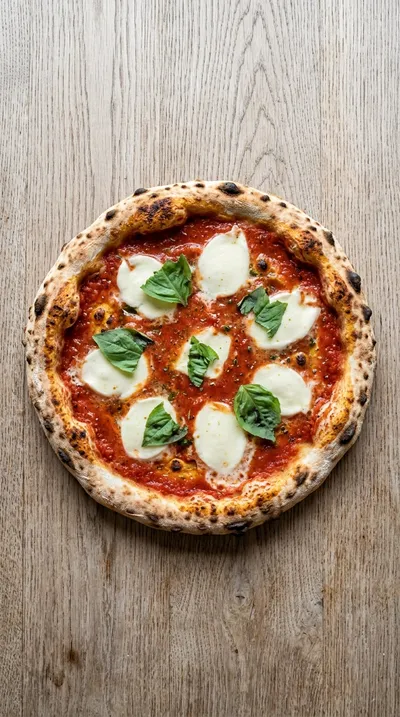
I love a classic Margherita with fresh mozzarella and basil, but a White Pizza with ricotta, garlic, and spinach is just lovely. Serve it on a wooden board with a side of crisp greens.
Frequently Asked Questions
→ Can I use all-purpose flour instead of Type 00?
You can, but you'll miss that specific, airy crunch. Using 4 cups (640 g) Type 00 flour really is what makes it feel authentic.
→ What if my dough isn't rising in the fridge?
Don't panic! Every starter is different, and fridges vary in temperature. Just give it a bit more time or keep an eye on it; it'll get there eventually.
→ My dough is too sticky to handle, what do I do?
Oops, it happens! Just dust your hands and surface with a little extra flour, and remember that the cold prove usually makes the dough much easier to manage.
Nutrition Facts
per serving
720
Calories
32g
Protein
110g
Carbs
12g
Fat
Taste Profile
A balanced, tangy crust with a savory finish.
Ingredient Substitutions
Don't have an ingredient? Try these alternatives
The crust will be slightly less airy but still delicious.
You may lose a bit of the chewiness.
Recipe Variations
Try these delicious twists on the original
Gluten‑Free Sourdough Pizza Dough
Replace the Type 00 and bread flour with a well-balanced gluten‑free blend (like rice, potato, and tapioca starch) and add xanthan gum to keep that texture we love.
Herbed Sourdough Pizza Dough
Fold in 1 tablespoon of dried rosemary and 1 teaspoon of dried oregano during the kneading step for a lovely aromatic flavor.
Common Mistakes to Avoid
Learn from others' mistakes for perfect results
- Overloading toppings, which leads to a soggy center.
- Skipping the cold prove, resulting in a less complex flavor.
- Using a cold pizza stone, which prevents the crust from blistering.
Meal Prep & Storage
Make Ahead Tips
This recipe is designed for making ahead; the dough must cold prove in the refrigerator for 16-24 hours for the best results.
Leftover Ideas
Freeze extra dough balls for up to 2 weeks. Thaw in the fridge for 24 hours or bake from frozen at 510°F for 12-14 minutes.
Perfect Pairings
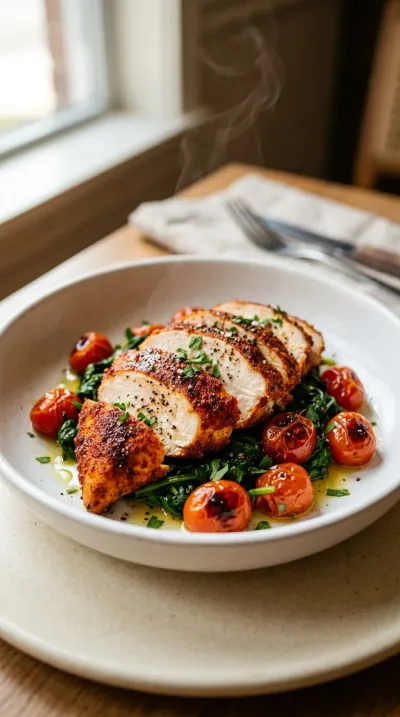
Serve this with...
Cooking Timeline
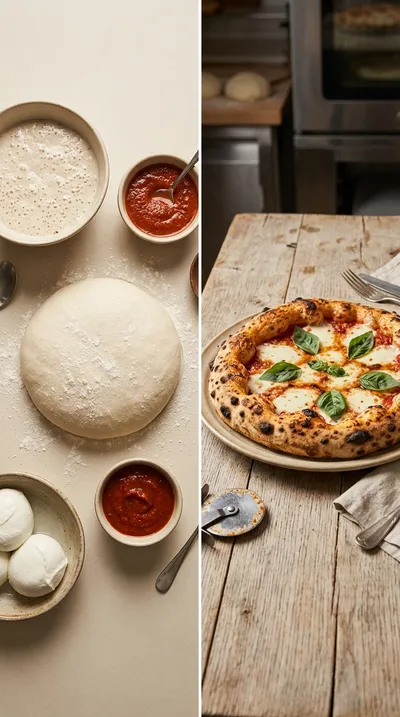
Mix ingredients and autolyse for 30 minutes.
Knead the dough until smooth and elastic.
Bulk fermentation with three set-folds.
Cold prove in the refrigerator for flavor development.
Warm dough, pre-heat oven, shape, top, and bake.
Sourdough Pizza Dough – Step‑By‑Step Guide
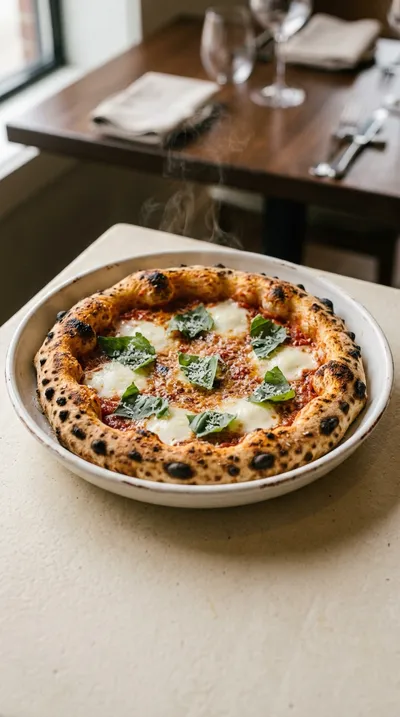
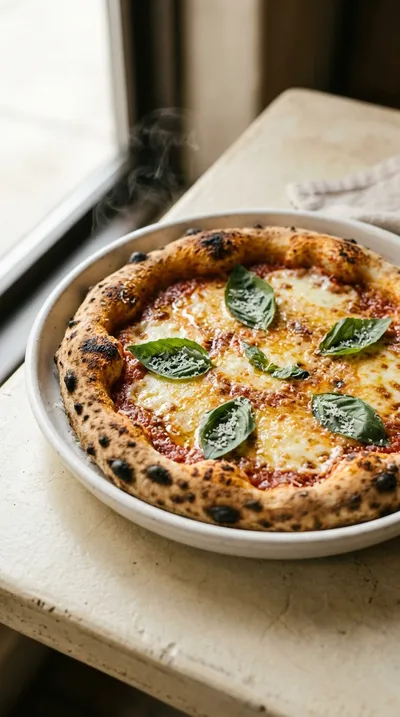
Warm your kitchen with the scent of a tangy, blistered crust made from this sourdough pizza dough. Combining the lightness of Type 00 flour and the strength of high‑protein bread flour, it creates a chew that feels just like a cozy Sunday afternoon.
Timing
Prep Time
40 Minutes
Cook Time
10 Minutes
Total Time
50 Minutes
Recipe Details
Ingredients
Main Dough
-
01
1 cup (240 g) active sourdough starter, 100% hydration
-
02
2 cups (480 g) lukewarm water, 80°F
-
03
4 cups (640 g) Type 00 flour
-
04
1 cup (128 g) high‑protein bread flour
-
05
2 tsp (10 g) fine sea salt
-
06
1 tbsp (15 ml) extra‑virgin olive oil
-
07
1 tsp (5 g) sugar, optional for fermentation balance
Instructions
In a large bowl, go ahead and combine your Type 00 flour, bread flour, lukewarm water, and that bubbly active sourdough starter. Mix it with a wooden spoon or just use your hands until a shaggy dough forms. Now, just cover it with a damp towel and let it autolyse for 30 minutes at room temperature (70°F). Honestly, this little rest makes a world of difference.
Next, add in the fine sea salt and extra‑virgin olive oil. Knead the dough by hand or use a stand mixer with a dough hook for 8‑10 minutes. You're looking for it to be smooth and elastic, just pulling away from the sides of the bowl beautifully.
Transfer the dough to a lightly floured work surface and shape it into a tight ball. Put it back in the bowl, cover it, and let it undergo bulk fermentation for 3‑4 hours. Well, look, you'll want to perform 3 set‑folds at 1‑hour intervals—just lift the top edge and fold it toward the center.
After the bulk rise, gently divide the dough into three equal portions, about 350 g each. Shape each one into a firm ball and place them on parchment‑lined trays, dusting each one lightly with flour so they don't stick.
Cover your dough balls with plastic wrap or a damp cloth. Let them proof at room temperature for 1‑2 hours, or until you see them lift slightly from the surface. Just a little patience here.
Now, place the dough in the refrigerator to cold prove for 16‑24 hours. This slows everything down, and wow, it really develops that deep flavor and a wonderful chewy base.
About 90 minutes before you're ready to bake, take the dough out of the fridge. Let it sit at room temperature for about 20‑30 minutes until it reaches work‑room temperature.
Pre‑heat your oven to 500°F (260°C) with the pizza stone already inside. While that stone gets hot, stretch each dough ball on parchment paper into a 10‑inch circle, brushing the edges lightly with extra‑virgin olive oil.
Top your dough with your favorite sauce, cheese, and toppings. Carefully slide the parchment onto the pre‑heated stone and bake for 7‑9 minutes, until the crust is golden-brown and has those lovely little blisters.
Remove the pizza from the stone and transfer it to a cooling rack. Let it cool for 5 minutes before slicing. I mean, I know it's hard to wait, but it's worth it.
Notes & Tips
-
1
A fed starter is key; use one fed 4-6 hours prior for the best rise.
-
2
Avoid overloading toppings to prevent a soggy base.
-
3
The cold prove is essential for that signature sourdough tang and chew.
Tools You'll Need
-
Large mixing bowl for combining
-
Kitchen scale for precise measurements
-
Dough scraper for handling the sticky dough
-
Standing mixer with dough hook (optional)
-
Pizza stone for a professional crust
-
Pizza peel or baking sheet
-
Parchment paper for easy sliding
-
Cooling rack
-
Oven with thermometer for accuracy
-
Timer to keep track of those folds
Must-Know Tips
-
Starter Timing, ensure it is fed 4-6 hours before mixing for a punchy rise.
-
Topping Balance, keep portions modest so the pizza bakes evenly.
-
Edge Crispiness, lightly oil the live dough before shaping for extra crunch.
Professional Secrets
-
The Autolyse Method, letting the flour and water rest for 30 minutes simplifies the kneading process.
-
Cold Fermentation, the 16-24 hour fridge stay is where the real flavor profile is built.
-
Temperature Control, ensuring the dough returns to room temperature before stretching prevents shrinking.
What readers are saying
Community reviews from home cooks like you
Perfect for a busy weeknight. I really liked how the 1 cup (240 g) active sourdough starter, 100% hydration and 2 cups (480 g) lukewarm water, 80°F came together. Thanks for sharing this one!
Nice base recipe. The hydration flavor was nice, but i added a bit more seasoning next time. I might try it again with some adjustments.
Will definitely make this again. I really liked how the 1 cup (240 g) active sourdough starter, 100% hydration and 2 cups (480 g) lukewarm water, 80°F came together. I found it a bit sweet for my taste. Great addition to my recipe rotation.
Perfect for a busy weeknight. I really liked how the 1 cup (240 g) active sourdough starter, 100% hydration and 2 cups (480 g) lukewarm water, 80°F came together. I swapped one ingredient and it still worked. Highly recommend giving it a try.
My new favorite way to make Sourdough Pizza Dough – Step‑By‑Step Guide. I really liked how the 1 cup (240 g) active sourdough starter, 100% hydration and 2 cups (480 g) lukewarm water, 80°F came together. I added a bit more seasoning next time. Already shared it with a friend.
Nice base recipe. The hydration flavor was nice, but the texture was a touch off, but the flavor saved it. I might try it again with some adjustments.

Recipe by
Sofia RiveraExploring the world through food 🌍🍲 Rich flavors, exciting dishes, and endless culinary inspiration ✨
Get Delicious Recipes Weekly
Join 25,000+ home cooks getting our best recipes straight to their inbox.
Free forever • No spam • Unsubscribe anytime