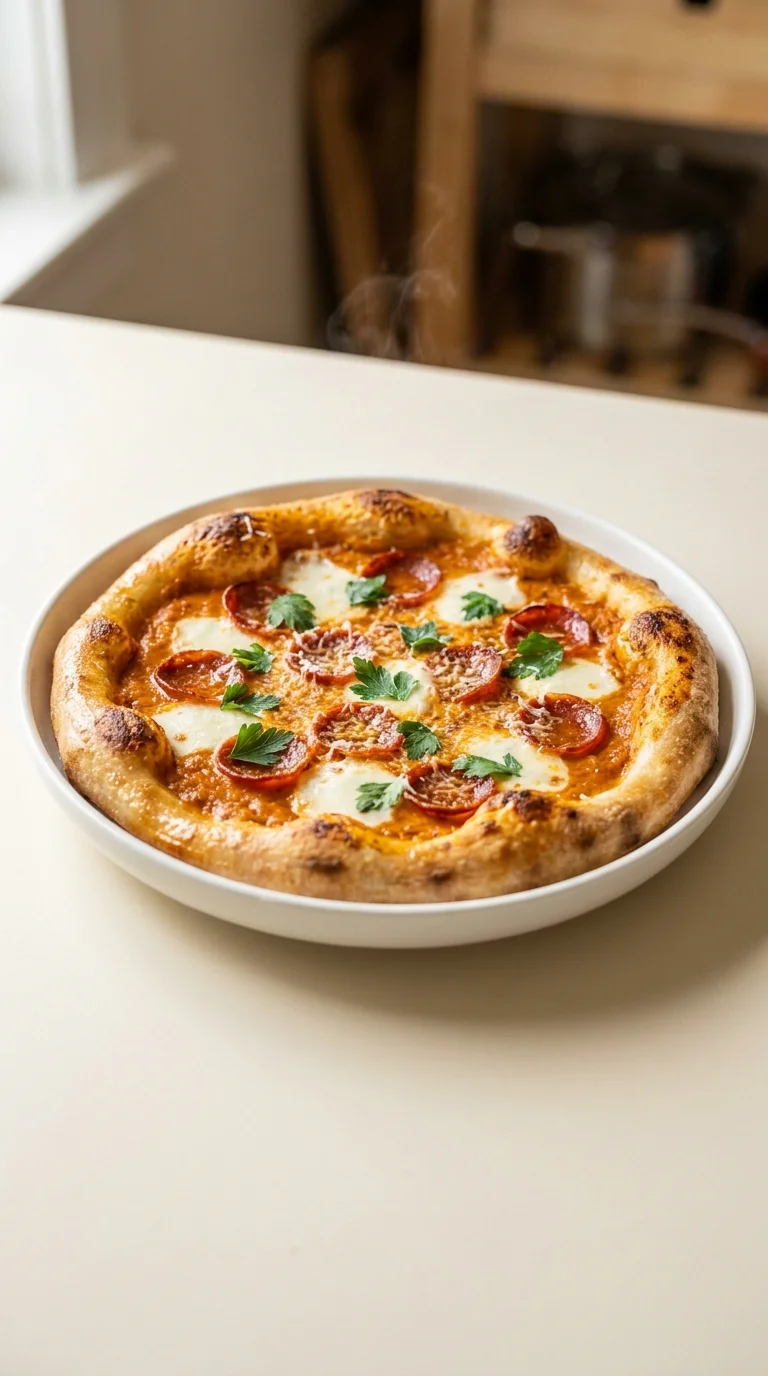
The art of the pizza crust began in Naples, where the simplicity of flour, water, and yeast created a global phenomenon. Traditionally, Neapolitan dough was a slow process, relying on long fermentations to develop those signature charred bubbles and deep flavors. It was a craft passed down through generations, rooted in the patience of the pizzaiolo.
As the love for pizza spread, the need for a more accessible approach grew. The concept of a quick pizza dough emerged as a way to bring that artisanal feeling into the busy modern kitchen. By adjusting the temperature of the water and the amount of sugar, home cooks found they could achieve a satisfying lift and chew in a fraction of the time.
Today, this style of dough represents a bridge between tradition and convenience. It maintains the soulful connection to the hearth while acknowledging that sometimes, the joy of a shared meal cannot wait for a twelve-hour rise. It is a celebration of flexibility and the enduring appeal of a warm, golden crust.
Why You'll Love It
-
- Honestly, the speed of this is just a miracle for those busy weeknights when the kids are starving and you want something homemade.
-
- I love how it feels in your hands—that billowy, chewy texture that just reminds me of the little pizzerias I used to visit years ago.
-
- Well, it's just so forgiving; whether you want a thin crust or something a bit heartier, it just works every single time.
-
- There's something so grounding about the smell of yeast and warm water filling the kitchen, yeah, it just makes the whole house feel cozy.
"Honestly, I can't believe how fast this comes together. It's just as chewy as the slow versions!"
Essential Ingredient Guide
- all-purpose flour: This is the backbone of our crust. I always keep plenty on hand for kneading, just to make sure the dough doesn't stick to my fingers.
- active dry yeast: Look for that lovely frothy top after five minutes. It's like a little signal telling you the yeast is happy and ready to work its magic.
- whole wheat flour: I like adding this optional touch for a heartier crust. It gives the dough a nutty, rustic flavor that feels a bit more wholesome.
- salt: Don't skip this, honey. It's what balances all those flavors and keeps the dough from tasting flat.
- olive oil: It adds a gentle richness to the dough. I mean, a little bit on the raw crust before the sauce makes it just so much crispier.
- granulated sugar: Just a tablespoon helps feed the yeast. It doesn't make the pizza sweet, but it helps the crust brown beautifully in the oven.
Complete Cooking Process
-
Getting Ready:
Start by waking up your yeast in warm water and sugar. It needs a few minutes to get frothy, so just let it sit while you whisk your flour and salt together.
-
Developing the Dough:
The magic happens in the mixer. When the olive oil and yeast mixture hit the flour, it all comes together into a shaggy mass that eventually becomes smooth and elastic.
-
Perfecting the Texture:
Those short rests are key—letting the gluten relax makes the dough so much easier to roll. If it feels a bit sticky, just a tablespoon of flour usually does the trick.
-
The Final Prep:
Rolling the dough into a 12-inch circle is the last step before the fun begins. Just add your sauce and mozzarella and you're almost there.
-
Baking and Serving:
The high heat of a 475°F oven makes the crust golden and the cheese bubbly. Give it two minutes to cool before slicing, or you'll burn your tongue, oops!
-
Brush a thin layer of olive oil on the raw dough before adding sauce to achieve a crispier crust.
-
If baking time is tight, skip the second rise; the dough will still be tender but a bit denser.
-
Tightly cover the dough with plastic wrap or a cool, damp towel while it rests to keep the surface from drying out.
-
Make sure your pizza stone or steel has preheated for at least 20 minutes for that professional sear.
Pro Tips
You've got this, just trust your hands and enjoy the process!

Better For You Treats
I love that we can make this a bit more mindful by using 1/2 cup (60 g) whole wheat flour. It adds a bit of fiber and a lovely earthy taste without losing that cozy pizza feel.
Ways to Make it Your Own
You can really play around here; maybe try a Gluten-Free version with 2 tsp xanthan gum or just add a pinch of garlic powder to the flour. I personally love experimenting with different cheeses to see what bubbles up best.
Serving Suggestions
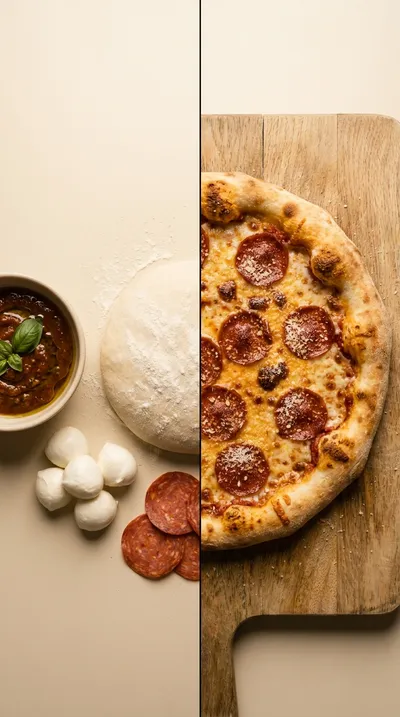
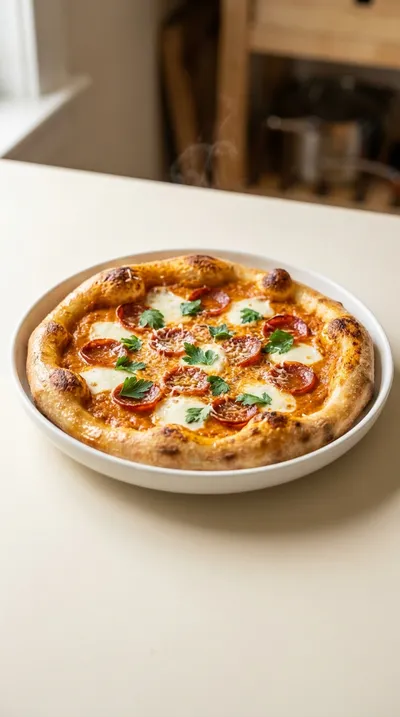
A Classic Margherita with fresh basil is always a dream, or go for a Vegetarian Delight with roasted peppers and pistachio nuts for a little crunch. Just serve it warm on a wooden board for a real family feel.
Frequently Asked Questions
→ What if my dough is too sticky to handle?
Don't worry, it happens! Just sprinkle in a tablespoon of all-purpose flour at a time until it pulls away from the bowl.
→ Can I make the dough ahead of time?
Yes, you certainly can. Just wrap it in plastic wrap and aluminum foil and pop it in the freezer for up to 2 weeks.
→ Do I really need a pizza stone?
It helps, but a baking sheet works just fine too. You might not get that exact same char, but it'll still be delicious.
Nutrition Facts
per serving
130
Calories
5g
Protein
19g
Carbs
3g
Fat
Taste Profile
A classic, balanced bread flavor with a hint of sweetness from the sugar.
Ingredient Substitutions
Don't have an ingredient? Try these alternatives
Will result in a slightly chewier, more professional‑style crust.
A neutral tasting oil that works just as well for the dough's texture.
Adds a slightly different floral sweetness to the yeast.
Recipe Variations
Try these delicious twists on the original
Whole Wheat Quick Pizza Dough
For a nuttier flavor and tighter feel, replace ½ cup of all‑purpose flour with whole wheat flour and add ¼ tsp baking soda for extra lift.
Gluten‑Free Quick Pizza Dough
Swap in 2 cups of a store‑bought gluten‑free all‑purpose flour blend and add 2 tsp xanthan gum to maintain a tender, pizza‑friendly base.
Common Mistakes to Avoid
Learn from others' mistakes for perfect results
- Water too hot: If the water is boiling, it'll kill the yeast and the dough won't rise.
- Under‑kneading: Stopping before the dough pulls away from the bowl can lead to a crumbly crust.
- Skipping the preheat: Putting a pizza on a cold stone means you lose that signature crisp.
Meal Prep & Storage
Make Ahead Tips
The dough can be wrapped in plastic and foil and frozen for up to 2 weeks. Just remember to thaw it in the fridge overnight before you plan to bake.
Leftover Ideas
If you have leftover raw dough, store it in an oiled bowl in the fridge for 2 hours. For baked leftovers, reheat in the oven at 350°F to maintain the crispness.
Perfect Pairings
Serve this with...
Cooking Timeline
Bloom yeast in warm water and sugar.
Mix dry ingredients and knead in the stand mixer.
First rest and hand‑kneading.
Second rise and oven preheating.
Roll, top, and bake for 10-12 minutes.
Quick Pizza Dough in 30 Minutes
A billowy, chewy crust that comes together with a bit of 2 cups (240 g) all-purpose flour and warm water. This quick pizza dough is just perfect for those cozy nights when you want something homemade without the long wait.
Timing
Prep Time
10 Minutes
Cook Time
20 Minutes
Total Time
30 Minutes
Recipe Details
Ingredients
Main Dough
-
01
2 cups (240 g) all-purpose flour, plus extra for kneading
-
02
1 cup (240 ml) warm water (110°F/43°C)
-
03
2 tbsp (30 ml) olive oil
-
04
1 tbsp (15 g) granulated sugar
-
05
1 tsp (4 g) salt
-
06
1 tsp (3 g) active dry yeast
Optional Additions
-
01
½ cup (60 g) whole wheat flour for a heartier crust
-
02
¼ tsp baking soda (when using whole wheat)
-
03
2 tsp xanthan gum (when using gluten‑free flour)
Instructions
Start by finding a small bowl and gently combining the warm water, sugar, and active dry yeast. Give it a little stir until the yeast dissolves, then just let it sit for about 5 minutes. You'll know it's ready when it looks all frothy on top—wow, it's like a little science experiment, right?
Now, go ahead and attach the dough hook to your stand mixer. In the mixing bowl, whisk together the all-purpose flour, salt, and if you're feeling a bit heartier, add that optional whole wheat flour and baking soda.
Pour in the frothy yeast mixture and the olive oil. Mix on low speed; you're just looking for a shaggy mass to form. It'll look a bit messy at first, but that's perfectly normal.
Bump the speed up to medium and let the mixer knead for 5–6 minutes. You want the dough to be smooth and elastic, pulling away from the bowl cleanly. Honestly, if it feels too dry, just add a teaspoon of water; if it's sticky, a tablespoon of flour usually does the trick.
Transfer your dough to a lightly oiled bowl. Cover it with plastic wrap or a damp towel—this is key to keep it from drying out—and let it rest for 5 minutes just to relax the gluten.
After that short rest, turn the dough out onto a lightly floured surface. Knead it by hand for another 2–3 minutes, shape it into a nice ball, and pop it back in the bowl.
Cover it up tight and let it rise in a warm spot for 10 minutes. It won't double in size like a long-rise dough, but it'll get slightly puffy and so much easier to roll out.
While the dough is resting, preheat your oven to 475°F (245°C). If you have a pizza stone or steel, put it in now so it can get screaming hot for at least 20 minutes.
Lightly flour a pizza peel or baking sheet. Roll your dough into a 12‑inch circle. Now comes the fun part: add your sauce, mozzarella, and whatever toppings you're craving tonight.
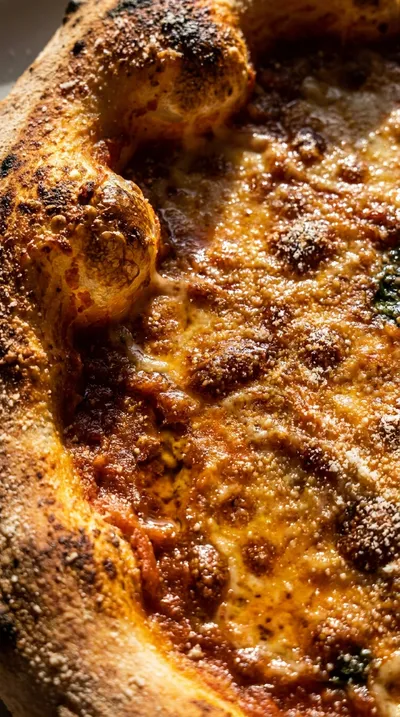
Carefully slide that pizza onto the hot stone. Bake for 10–12 minutes until the crust is a beautiful golden brown and the cheese is bubbly. Let it cool for 2 minutes—ugh, the waiting is the hardest part—then slice and serve.
Notes & Tips
-
1
The 5-minute rest after mixing is essential to let the gluten relax, making the dough less stubborn when rolling.
-
2
Using a pizza stone or steel creates a much more authentic, crisp bottom than a standard baking sheet.
-
3
The dough doesn't need hours to rise because the warm water and sugar jumpstart the yeast quickly.
Tools You'll Need
-
Stand mixer with dough hook attachment for effortless kneading
-
Mixing bowl for combining ingredients
-
Measuring cups and spoons for accuracy
-
Kitchen timer to keep track of those short rests
-
Whisk for aerating dry ingredients
-
Rubber spatula for scraping the bowl
-
Plastic wrap or damp towel to prevent a skin from forming on the dough
-
Pizza peel or baking sheet for transferring to the oven
-
Pizza stone or baking steel for a professional crisp
-
Oven
Must-Know Tips
-
Olive Oil Brush, Brushing a thin layer of olive oil on the raw dough before sauce makes the crust extra crispy.
-
Time Management, If you're in a huge rush, you can skip the second rise, though the dough will be a bit denser.
-
Moisture Control, Always keep the dough tightly covered during rests so the surface doesn't dry out.
Professional Secrets
-
The 'shaggy mass' stage is the secret to ensuring ingredients are incorporated before the gluten structure sets.
-
The preheated stone at 475°F mimics a commercial pizza oven for that immediate 'oven spring'.
-
Manual kneading for 2-3 minutes after the mixer ensures the dough is perfectly homogenous.
What readers are saying
Community reviews from home cooks like you
I was surprised how good this turned out. I really liked how the 2 cups (240 g) all-purpose flour, plus extra for kneading and 1 cup (240 ml) warm water (110°F/43°C) came together. Will be making this regularly.
This was a hit with my family. I really liked how the 2 cups (240 g) all-purpose flour, plus extra for kneading and 1 cup (240 ml) warm water (110°F/43°C) came together. Will be making this regularly.

Recipe by
Alexa CarterFast food, but smarter 🔥🍽️ Bold flavors, simple steps, and meals that always hit the spot 😎
Get Delicious Recipes Weekly
Join 25,000+ home cooks getting our best recipes straight to their inbox.
Free forever • No spam • Unsubscribe anytime